
The One-Yard Shirt
You know when you find some crazy awesome fabric while browsing through the aisles at Joanns but it's just a little too bright or garish for a dress or a skirt? Or when you have a random yard leftover from a pervious project and you just don't know what to do with it? Well have no fear! I have the solution and it's as easy as pie. {Though I'm not sure making a pie is actually that easy. Sounds pretty hard to me. Maybe I should rephrase that to say "as easy as eating pie"...}

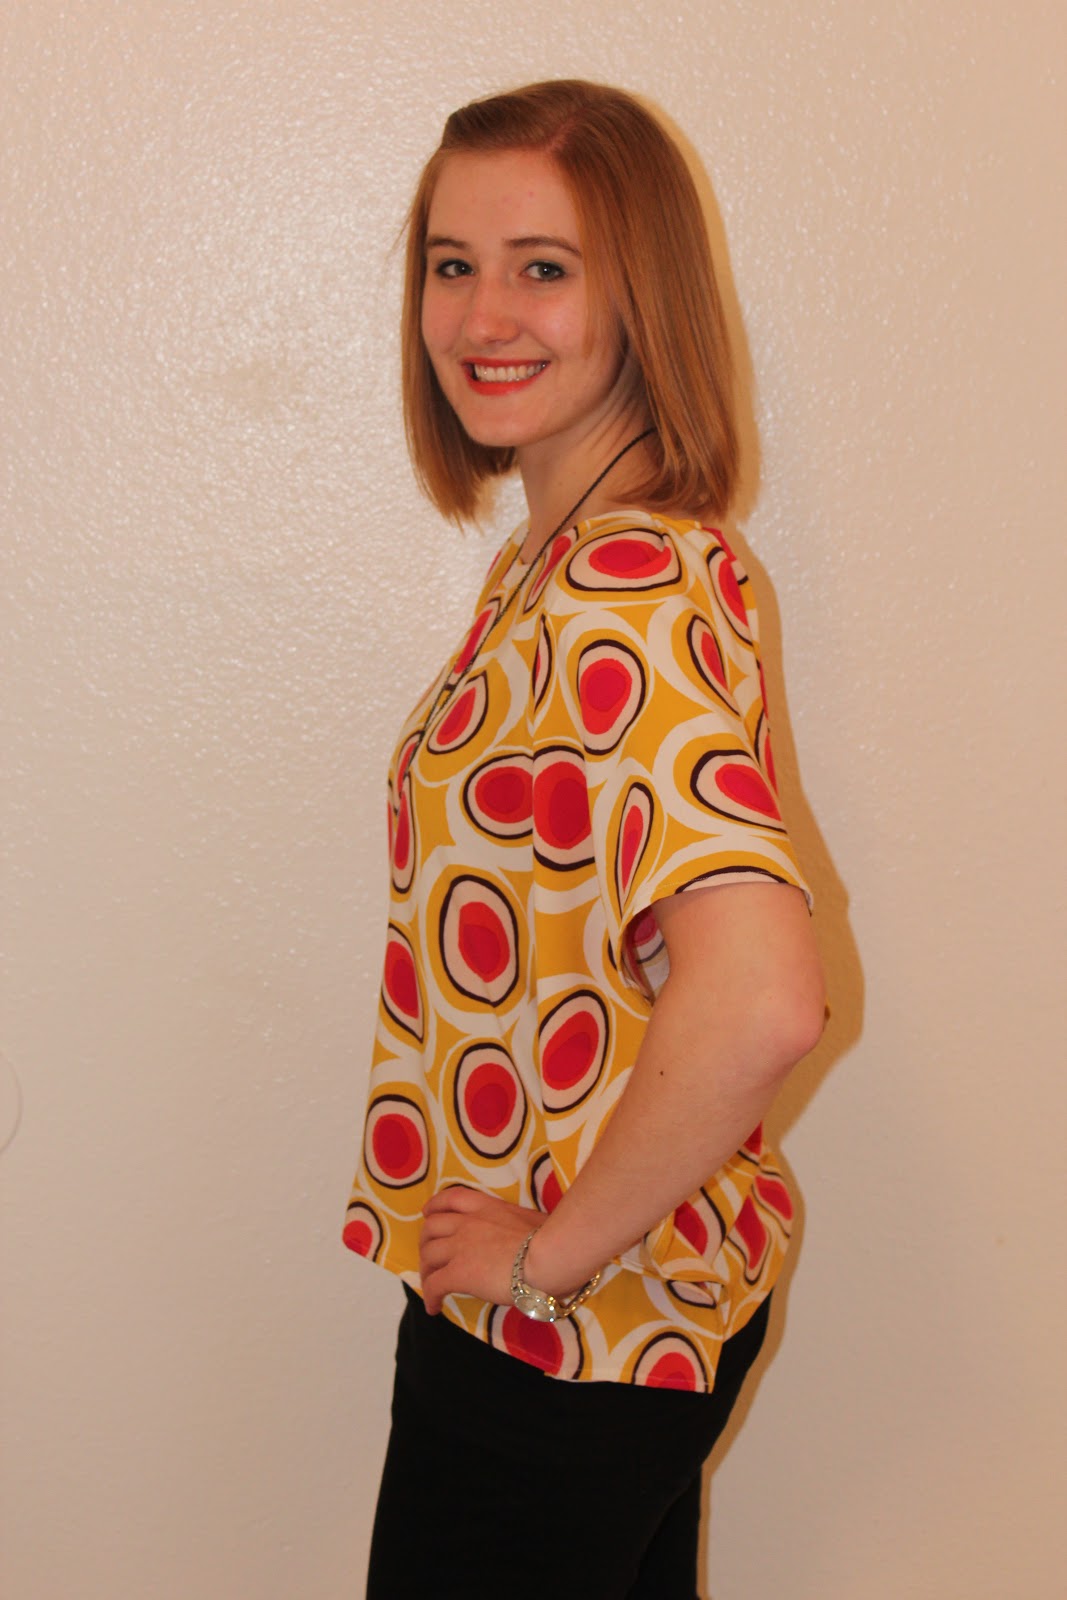
{Thanks to Heather my roomie for taking pics of me! Check out her blog here.}
{Outfit: Shirt: hand-made, Necklace: Claires (bought forever and a day ago), Pants: Old Navy, Watch: Anne Klien.}
Step One: Choose a piece of fabric that is about a yard long. It could be a bit less or a bit more depending on what size you are and how flowy you want the sleeves to be. Make sure you wash your fabric before you start sewing with it to ensure there won't be any shrinking, stretching or pulling once you sew it.

{I fell in love with this fabric as soon as I glimpsed it. I thought this was the perfect project for it's bold pattern and colors.}
Step Two: Before you start cutting or pinning, I found the easiest thing to do first {after ironing of course} is to hem all the raw edges. Lay out your fabric matching selvages and edges to make sure everything is even and cut away any excess. Then plug in your sewing machine and hem away! {I did a small rolled hem, but you could do any type you like.}
*Note: If you are using a stretch knit fabric you don't need to do a hem because it won't fray in the wash! Lucky you!

Step Three: Find a T-shirt that you like the fit of and lay it out on top of your fabric. {The neck of the shirt should be on the side of the fold and the bottom should be along the open end.} You will use this as a base for where to sew up the sides and how wide you want the neckline to be.

Step Four: Mark about an inch or so away from the edge of the T-shirt with pins. {Make sure the botom and sides of your fabric are even.} Mark from the bottom of the shirt to the bottom of the armpit. This will be your stitching line. You can eyeball the distance from each side or you can measure it out with a tape measure if you want to be more precise. I used a tape measure just so that one flowy sleeve wouldn't be bigger than the other.
Step Five: Mark the middle of the top folded edge of the fabric with a pin and do the same with the neckline of your T-shirt. {I used a different shirt for the body and the neckline because I wanted a round neckline, not a v-neck.}

Step Six: Cut through both layers of fabric to create the back neckline of your shirt. If you want to have more of a boat neck, you could cut the front and back necklines the same, just making them wider and lower. This step really just depends on how you want your shirt to fit. I cut the back to one level and the front to another.

Step Seven: It is hard to cut the front using any sort of templete because you don't want to cut through the back of the shirt. So I just moved my templete shirt and eye balled the front neckline, trying to make it even on both sides.

Step Eight: Before you sew the sides up along your pins, it might be a good idea to try on your shirt. But be careful not to get impaled with pins or rip your fabric in the process! This will help you know if you made your stitching lines far enough apart so it fits your torso how you like it. This will also help you see how well the neckline you cut out is going to fit and if you need to make any adjustments. Speaking from experience it is better to make your neckline smaller than you think you need it-account for a rolled hem and the nature of your fabric {stiff, flowy, stretchy}.
Step Nine: Once you are happy with the fit of your shirt, sew up the sides with wrong sides together along your pins {backstitching at the beginning and the end} and hem the neckline. I found that to avoid puckering or bulk in the hem of the neckline, it was better to pin it before sewing.


{I tried to make the stitching line a little more visible on photoshop since I was using white thread and it wan't visible at all.}
Step Ten: Once I was finished stitching up the sides and the neck of my shirt I realized the neckline was a little bit wider than I was comfortable with. So I decided to put in a pleat on each of the shoulders and it ended up looking really good! I took it in from the middle of each shoulder about an inch.


Well that's all I have for you folks! This is a really fast and fun shirt that could be end up becoming a new staple in my wardrobe in lots of different patterns. My roomies already have me lined up to make some for them too! :)
Happy Sewing!

xoxo
C.R.M.
So cute! I actually just bought a shirt that looks like this and was thinking of usuing it as a pattern to copy and then I saw your post on pinterest! great tutorial!
ReplyDeleteThanks! :) I'm starting to get the hang of it!
ReplyDeleteThat's so cool!! Wish I could sew clothes too...
ReplyDeleteThis one is easy! Definitely a great beginners project :)
DeleteIs the pleat at the top of the shoulder or the front/back?
ReplyDeleteHi just came across your blog, what a great idea. May I ask how wide is the fabric? You said a yard long, wondering what is the width. What type of fabric did you use? It's a beautiful print. Thanks
ReplyDelete