Showing posts with label Sewing. Show all posts

Tuesday, August 6, 2013

Coupon Code Crazy!

So here's the thing folks: I love bows. A lot. 

I have come to be known as the girl that wears bows like everyday. And you know the thing that I love maybe even more than wearing my bows myself? Seeing other people wear them :) Which is why I started up my shop Stylish Stitchings on Etsy. If I love these bows so much, why not share the love with the world? Or at least the United States. :)

In an attempt to share this love of bows with you all, I am offering another coupon code for my store! 


Just like last time there are some requirements to access the 30% off coupon: 

1: Follow my blog on Bloglovin by clicking on the Bloglovin button on the right side of the screen.
2: Favoriting my shop Stylish Stitchings or an item in my shop on Etsy.
3: Once you have completed step one and step two, leave a comment on this post with your email address and I will send you the coupon code! I will be checking to make sure that both steps are completed before sending the code. 


Have a great day and go buy some bows! :D

xoxo
C.R.M.


Sunday, July 7, 2013

Headwraps and Hotties

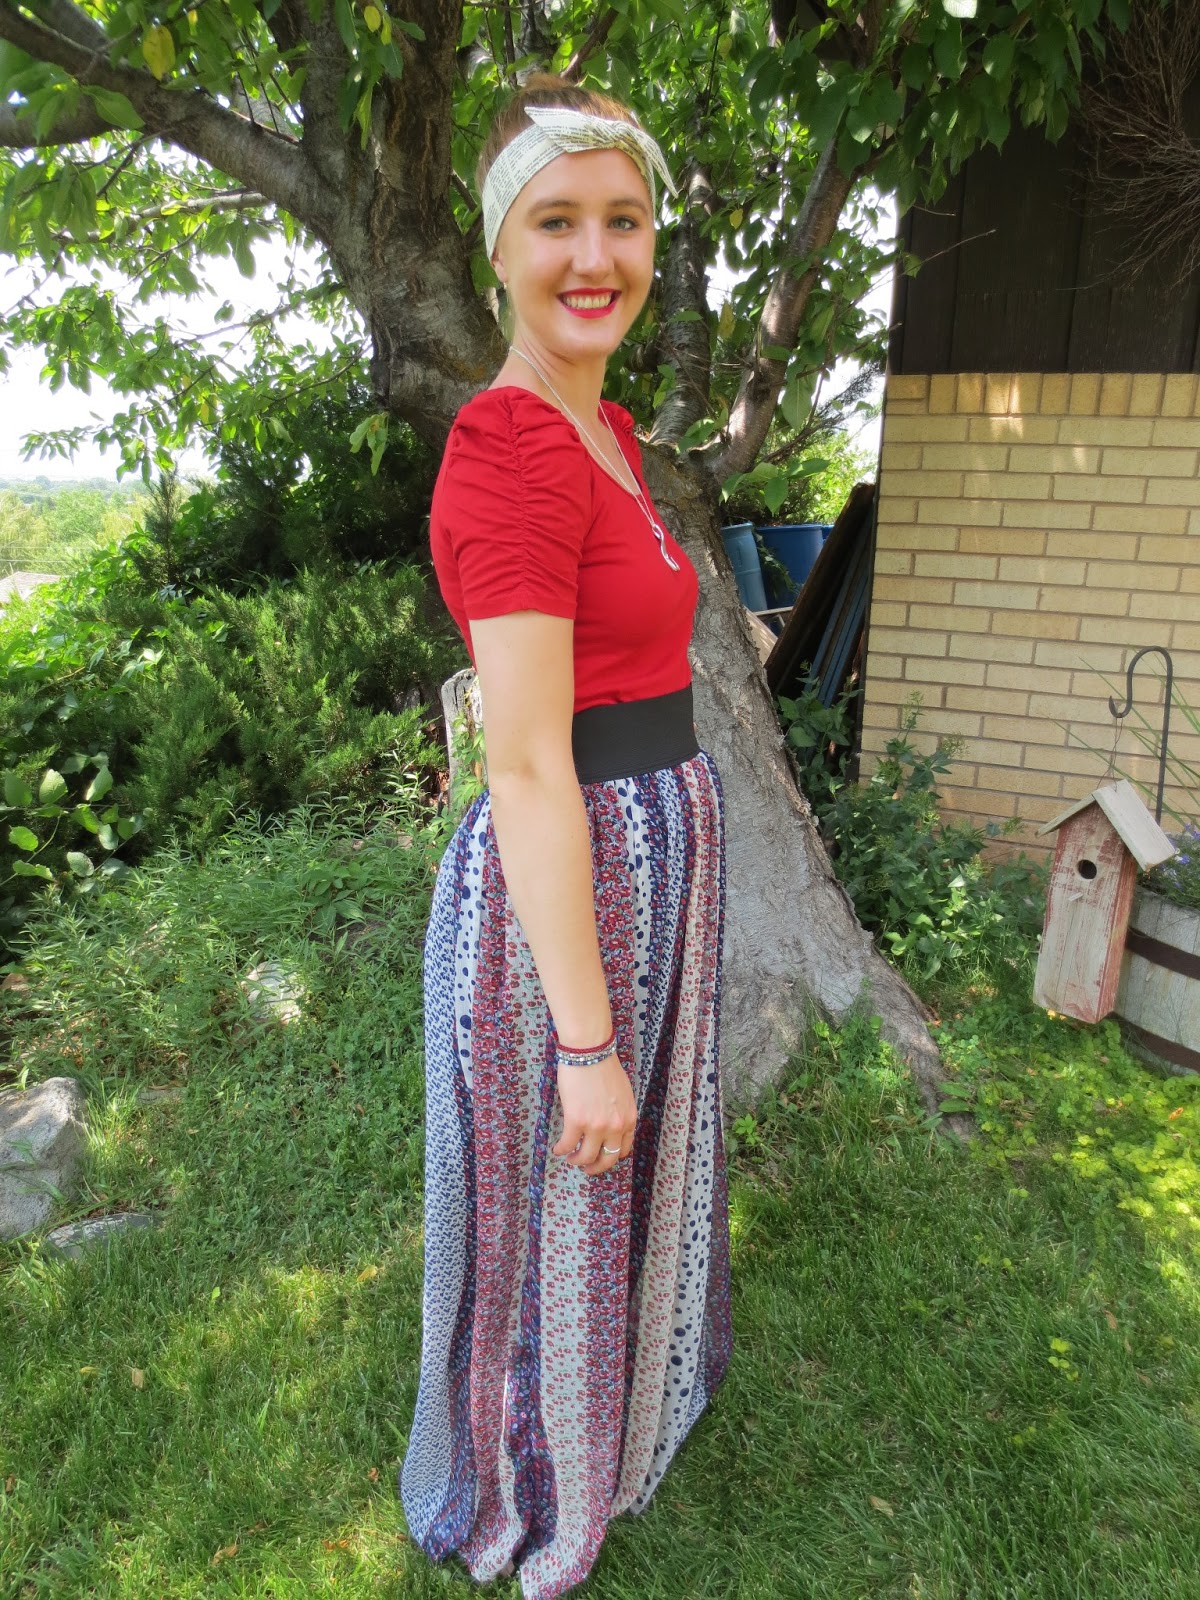
Okay, so we aren'te super models, but I think we're pretty cute :) Especially in these new headwraps that are now available in the shop!


Oh yeah. Super Sexy. We are really good at fashion posts. 


Mustard headwrap in the shop! 


Outfit Details: headwrap: c/o Stylish Stitchings, shirt: DownEast Basics, skirt: DownEast Basics, flip flops: Payless


Necklace: c/o Dragonfly Boutique


Bracelets: DIY (tutorial here), Ring: booth at Freedom Festival 


Outfit Details: headwrap: c/o Stylish Stitchings, shirt: Forever 21, skirt: handmade


Bracelets: DIY (tutorial here), ring: booth at SLC Arts Festival


Necklace: booth at Freedom Festival (it's pretty much my new favorite thing)


And sometimes model poses fail...but it's all good :) 

xoxo
C.R.M.

Friday, January 4, 2013

A Backwards Glance at all the Firsts: 2012

This past year has held a lot of firsts, beginnings, endings, excitement, disappointment, and soul searching. I feel like I have grown more as a person the past year than maybe any year before. On that note, here are a couple of the highlights from 2012 (the year the world was suppose to end. Also, sorry this post is so long, but everything is better with a lot of pictures, right?):

I went to my first crazy college New Years Dance (ok, it was at the SLC Institute so it wasn't THAT crazy).


I went to my first Brain Regan Concert. It was worth every penny and my cheeks were sore all night! If you ever get the chance to go, DO IT!


This wasn't my first, but it was a first none the less! I accompanied my roommates to go see Parachute when they came a second time to Salt Lake City to a sold out show. It was beyond amazing! It was two of my roommates first concert! I am such a concert junkie that it was fun to see them at their first one. 


I planned/went on my first Spring Break vacation without parental supervision. A group of us hopped in cars and went to St. George. It was also my first time driving for longer than an hour at a time (leg=sore). It was by far one of the funnest trips I have ever been on. 

Hugh's Family (Peter was the dad, I was the mom, the rest were our kids :P )


I experienced my first Color Festival. Man was it crazy! But SO much fun. I totally plan on going again this year!


I was bold and had my first "break up" hair cut--everyone says you'll regret it later, but I sure didn't!


I met the guy who plays Elton in Singles Ward. It was a big deal ok?


I posted my first DIY shirt to my blog and Pintrest (it is still my most viewed post and pin).


I started my first full-time summer job that extended into the school year at US Novelty and Party (this was a pic on my first day of work).


I successfully pranked a boys room for the first time with a whole bunch of left over yarn. 


I became a member of the Latter-Day Saint Student Association (LDSSA) at the SLC Institute as head of the Historian committee. I also designed the t-shirts that you can see everyone wearing around the UofU campus!


The first of my best girl friends got her mission call: California ASL speaking. She is in the MTC right now and I am so proud of her!


I went to my first Murder Mystery Party and it was a blast. 


I sang in a choir for the Relief Society Broadcast for the first time (though it was not my first time singing in a choir in the Conference Center).


I went to Nightmare on 13th for the first time (I'm the crazy looking one in hipster glasses almost hidden in the back :p What you can't see is that I'm wearing a cat shirt ;). )


I wore a wig cap and a wig for the first time for a Hallowen Costume. (LOVE this costume.)


Dress: Thrifted (such a good find), Beads: Claires and borrowed from my roommates, Gloves: Halloween City, Boa: Halloween City, Wig: Halloween City, Bracelets: Claires (way old), Ring: Forever 21, Tights: JCP, Lips: Sephora Lipstain

And last but not least, I threw my first ever Christmas Party that ended up being a SMASHING hit! 


So there are some highlights of the "firsts" I experienced this year. To wrap things up, a few firsts and highlights that I don't really have pictures for: 

I experienced for the first time what it feels like to find your perfect match and have them not feel the same.

I got into the Graphic Design program, so I have a concrete plan for the next 2 1/2 years for the first time since I didn't get into the program the first time. 

I was paid for my first design job. 

I created this blog.

I went fishing for the first time and LOVED it. 

I had my first summer romance.

I rode a moped for the first time. 

I ate sushi for the first time and actually liked it. 

I had my purse stolen. 

I spent a summer not at home for the first time. 

I got my first big paycheck and was tempted to blow it all. 

I experienced what it felt like to be loved back...and what it feels like to be the one to end things. 

I started an Etsy shop.

I signed up for my first boutique (more on this to follow).


Well there you have it folks. Here's to 2013 and all the new firsts that are just waiting to happen! I plan on grabbing each new experience by the horns and riding them till the next one comes along!

Happy New Year!

xoxo
CRM


Saturday, July 7, 2012

Summertime Flip Flops

I'm sure we have all made a pair of flip flops like this at least once in our lives, but I thought I might as well post a tutorial on how. Especially since it has been forever since I have posted anything. 

I think my favorite thing about these flip flops is what my roomies little sister said about them. She said they were the type of flip flops that crafty, suburbian teenage girls made {said in a snooty "I'm way too cool for those" voice of course.}

Well, call me crazy, but I like em. 


{Another thing that inspired this project was Old Navy's $1 flip flop sale last weekend!}

Step One:


Gather together any fabric scraps you have lying around. I know I have bundles of them!

Step Two: 


Cut the fabric into relatively uniform pieces. You can try and match the fabric and make sure you have even numbers of each kind so the shoes will be the same, or you can just make it random. It looks cute either way!

Step Three: 


Acquire some flip flops to jazz up like the crafty teenager you are

Step Four: 


Tie the fabric onto the straps of the flip flops on one side like I did, or on both if you like that look better. {Ignore my un-manicured thumb. Yuck.}

Step Five: 


Enjoy wearing your cute new flip flops to the pool, beach, fair or any other summer activity you have planned! Or, make them for siblings and friends as a cute summer gift. 

Enjoy!

xoxo
C.R.M.

Wednesday, May 30, 2012

The One-Yard Shirt

I have been trying to get this tutorial up for over a week now but just haven't made the time to actually sit down and type it out. But here it finally is and I hope you like it!

The One-Yard Shirt

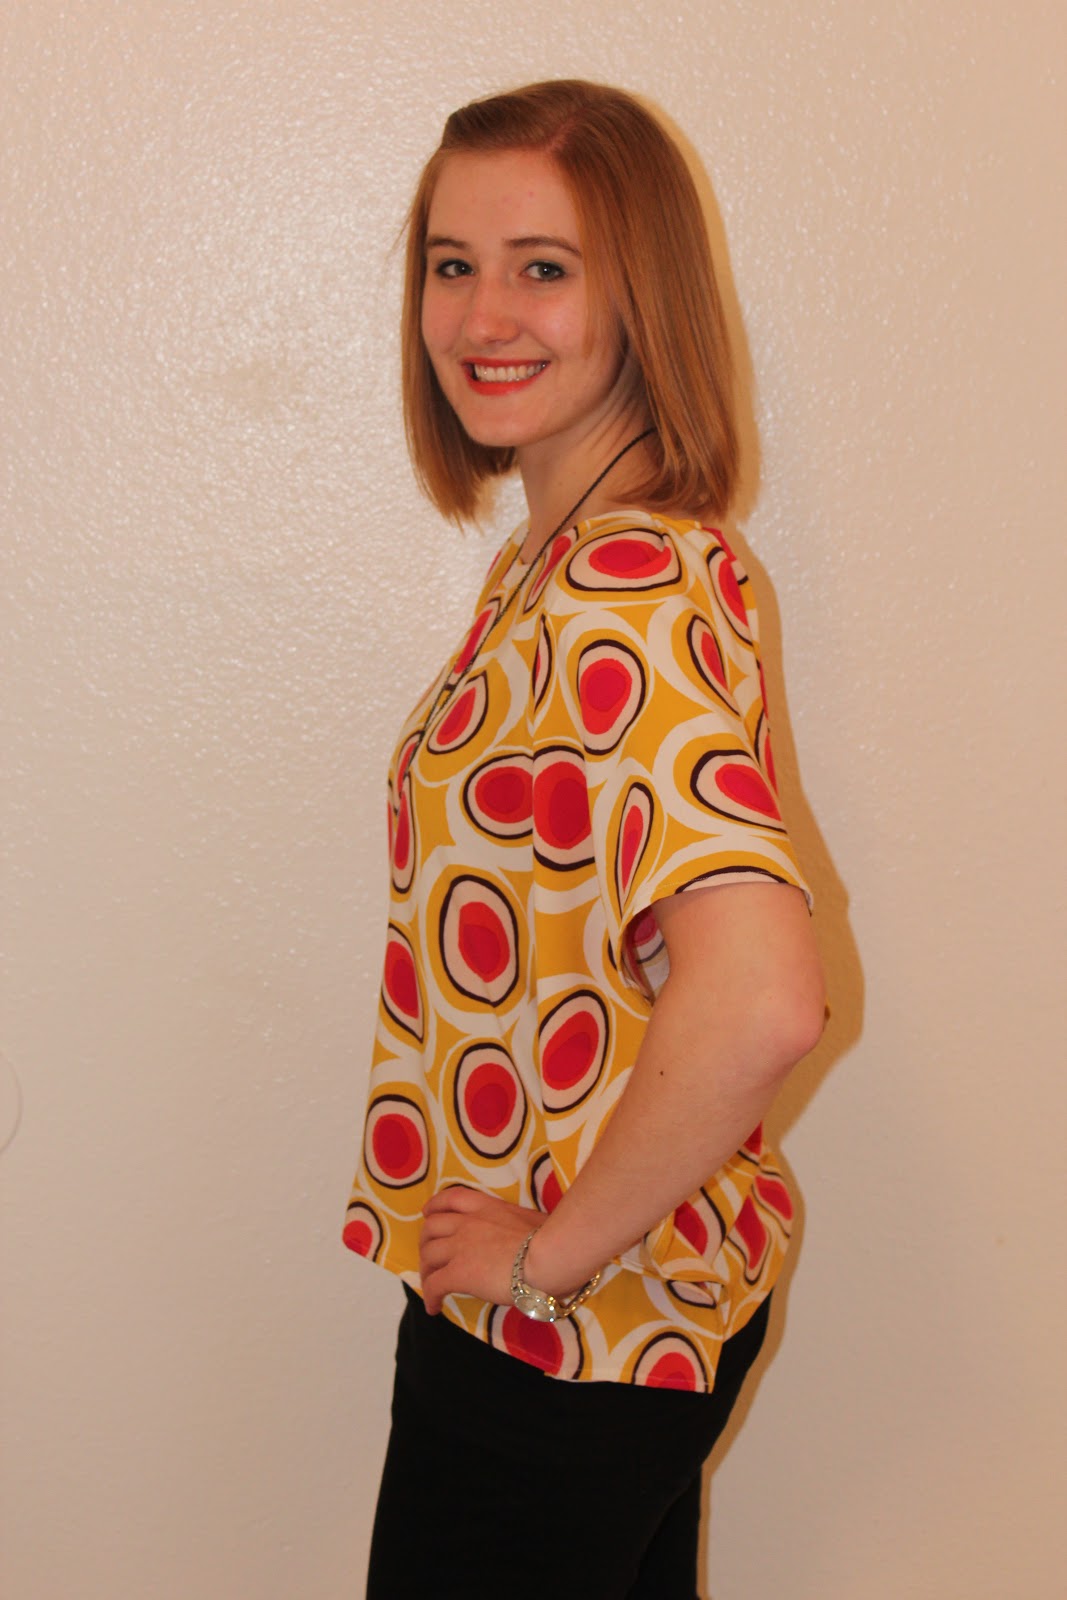
You know when you find some crazy awesome fabric while browsing through the aisles at Joanns but it's just a little too bright or garish for a dress or a skirt? Or when you have a random yard leftover from a pervious project and you just don't know what to do with it? Well have no fear! I have the solution and it's as easy as pie. {Though I'm not sure making a pie is actually that easy. Sounds pretty hard to me. Maybe I should rephrase that to say "as easy as eating pie"...}


{Thanks to Heather my roomie for taking pics of me! Check out her blog here.}
{Outfit: Shirt: hand-made, Necklace: Claires (bought forever and a day ago), Pants: Old Navy, Watch: Anne Klien.}

Step One: Choose a piece of fabric that is about a yard long. It could be a bit less or a bit more depending on what size you are and how flowy you want the sleeves to be. Make sure you wash your fabric before you start sewing with it to ensure there won't be any shrinking, stretching or pulling once you sew it. 

{I fell in love with this fabric as soon as I glimpsed it. I thought this was the perfect project for it's bold pattern and colors.}

Step Two: Before you start cutting or pinning, I found the easiest thing to do first {after ironing of course} is to hem all the raw edges. Lay out your fabric matching selvages and edges to make sure everything is even and cut away any excess. Then plug in your sewing machine and hem away! {I did a small rolled hem, but you could do any type you like.}

*Note: If you are using a stretch knit fabric you don't need to do a hem because it won't fray in the wash! Lucky you!


Step Three: Find a T-shirt that you like the fit of and lay it out on top of your fabric. {The neck of the shirt should be on the side of the fold and the bottom should be along the open end.} You will use this as a base for where to sew up the sides and how wide you want the neckline to be. 


Step Four: Mark about an inch or so away from the edge of the T-shirt with pins. {Make sure the botom and sides of your fabric are even.} Mark from the bottom of the shirt to the bottom of the armpit. This will be your stitching line. You can eyeball the distance from each side or you can measure it out with a tape measure if you want to be more precise. I used a tape measure just so that one flowy sleeve wouldn't be bigger than the other. 

Step Five: Mark the middle of the top folded edge of the fabric with a pin and do the same with the neckline of your T-shirt. {I used a different shirt for the body and the neckline because I wanted a round neckline, not a v-neck.}


Step Six: Cut through both layers of fabric to create the back neckline of your shirt. If you want to have more of a boat neck, you could cut the front and back necklines the same, just making them wider and lower. This step really just depends on how you want your shirt to fit. I cut the back to one level and the front to another.


Step Seven: It is hard to cut the front using any sort of templete because you don't want to cut through the back of the shirt. So I just moved my templete shirt and eye balled the front neckline, trying to make it even on both sides. 


Step Eight: Before you sew the sides up along your pins, it might be a good idea to try on your shirt. But be careful not to get impaled with pins or rip your fabric in the process! This will help you know if you made your stitching lines far enough apart so it fits your torso how you like it. This will also help you see how well the neckline you cut out is going to fit and if you need to make any adjustments. Speaking from experience it is better to make your neckline smaller than you think you need it-account for a rolled hem and the nature of your fabric {stiff, flowy, stretchy}. 

Step Nine: Once you are happy with the fit of your shirt, sew up the sides with wrong sides together along your pins {backstitching at the beginning and the end} and hem the neckline. I found that to avoid puckering or bulk in the hem of the neckline, it was better to pin it before sewing. 


{I tried to make the stitching line a little more visible on photoshop since I was using white thread and it wan't visible at all.}

Step Ten: Once I was finished stitching up the sides and the neck of my shirt I realized the neckline was a little bit wider than I was comfortable with. So I decided to put in a pleat on each of the shoulders and it ended up looking really good! I took it in from the middle of each shoulder about an inch.


Well that's all I have for you folks! This is a really fast and fun shirt that could be end up becoming a new staple in my wardrobe in lots of different patterns. My roomies already have me lined up to make some for them too! :)

Happy Sewing!


xoxo
C.R.M.